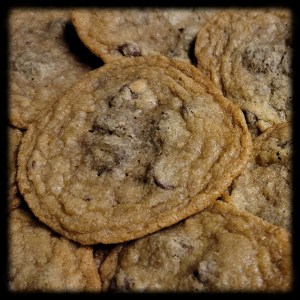
Do you like chewy, buttery chocolate chip cookies? Do you think crumbly or crispy chocolate chip cookies are just plain wrong? Do you want to get high from your chocolate chip cookies?
Yes? Yes? Also yes? Then these are the chocolate chip cookies for you.
Unless otherwise noted, my standard substitutions are as follows. I’m not sponsored or anything, I just prefer them to the others I’ve tried.
- Cup4Cup brand all purpose gluten free baking mix for wheat flour. (Note: C4C is NOT vegan)
- JUST Egg for a vegan alternative to eggs.
- Coconut oil for a vegan alternative to butter.
- Any margarine type of dairy free butter should be fine.
- If you need a gluten free AND vegan flour alternative, see each recipe’s notes.
Dry Ingredients:
- 2 ¼ cups all purpose flour
- 1 tsp kosher salt
- 1 tsp baking soda
Wet Ingredients:
- 1 cup granulated white sugar
- 1 cup dark brown sugar
- 16 tbsp cannabutter (2 sticks) [GF: 18 tbsp cannabutter (2 ¼ sticks)]
- 2 large eggs
- 1 tsp vanilla extract
Chocolate Chips, etc:
- Your choice of chocolate chips. I prefer milk chocolate. Do what thou will.
- Nuts? I like a hand-crumbled cup of toasted pecans sometimes. 5-10 minutes on a baking sheet in the oven at 350. Watch them closely so they don’t over-toast. A little color is fine, but they taste burned pretty quickly. If you like other nuts, go for it.
Gadgets:
- Oven
- Baking sheets
- Parchment or silicone baking sheets (optional but highly recommended)
- Spatula (metal, for getting the cookies off the baking sheet)
- Spatula (silicone, for scraping the mixing bowls and/or stand mixer)
- 2 mixing bowls
- Stand mixer (optional but highly recommended)
- Spoon
- Whisk or fork
- Cooling rack
- Measuring cups:
- ¾ cup (3 of these gets you the flour measurement)
- 1 cup (for sugars)
- Teaspoon (salt, baking soda, vanilla)
Instructions:
- Preheat oven to 350℉.
- Combine dry ingredients (flour, salt, baking soda) in a mixing bowl.
- Cream white sugar, brown sugar, and cannabutter in a separate mixing bowl (with the stand mixer if you are using one).
- Add eggs one at a time to the sugars and cannabutter (mixing on a medium speed if using a stand mixer).
- Add vanilla to sugars, butter, and eggs. Once these are all mixed well, give the bowl a good scrape with the spatula and mix a bit more just to make sure everything is incorporated evenly. Evenly mixed ingredients is particularly important when baking with cannabis so that your doses are accurate.
- Add the dry ingredients to the wet ingredients approximately ½ cup at a time until it is all mixed together. If using the stand mixer, I use a low speed at first to minimize the potential mess, and then a medium-high speed once there’s no chance of the flour billowing up. Again, once these are all mixed well, give the bowl a good scrape with the spatula and mix a bit more just to make sure everything is incorporated evenly.
- Fold in the chocolate chips (and optional nuts). If you’re using a stand mixer, add the chocolate chips (and optional nuts) mixing at a medium speed until they are incorporated evenly.
- Line your baking sheets with silicone mats or parchment if you choose.
- The size cookie you want will determine how large a dough ball you use. If you’re aiming for a specific dosage of THC, you’ll want to consult my Baking with THC Tips. For non-dosed and rough dosages, I tend to make the dough balls about 2 tbsp. This gets you between 52 and 60 cookies.
- Make sure you have enough space between dough balls that they won’t spread into each other (and these cookies should spread quite a bit). For the 2 tbsp dough balls mentioned above, leave at least 3 inches between each. For a standard 18”x13” baking sheet, you should be able to get 12 cookies per sheet.
- Gently press down on each dough ball to flatten them to about a ¾ inch thickness. Make sure you don’t have whisps or peaks of dough sticking out, or they may burn a bit. I use a spoon and my fingers for this. You can use gloves or wet your fingertips if you want to avoid too much sticking. A little bit of a bowl shape is okay, as it encourages the cookie to spread and bake evenly.
- I prefer to do one baking sheet at a time, but you can do two if you like. If you’re doing one at a time, place the oven rack in the middle. If you’re doing two at a time, space the racks evenly (splitting the oven into thirds vertically).
- Place the baking sheet(s) centered on the rack(s) in the oven. Bake for 5 minutes.
- Rotate the baking sheet(s) 180°. If you’re baking two at the same time then you’ll want to switch them top to bottom as well so that they bake evenly. Bake for another 4-5 minutes.
- Here’s the real trick. When you pull the sheet(s) from the oven, pat the bottom of the sheet as solidly as you can a few times without making the cookies jump. You should notice the cookies collapse as the air bubbles break. This will help the cookies achieve that chewy texture instead of being fluffy, and without having to add additional ingredients. You’ll want oven mitts on both your hands for this part. You may get a few jumpers, but this technique is worth practicing, as it really does help get those cookies nice and chewy.
- Let the cookies sit on the sheet for a few minutes before moving them to a cooling rack. I’ll usually move them after I rotate the next batch in the oven.
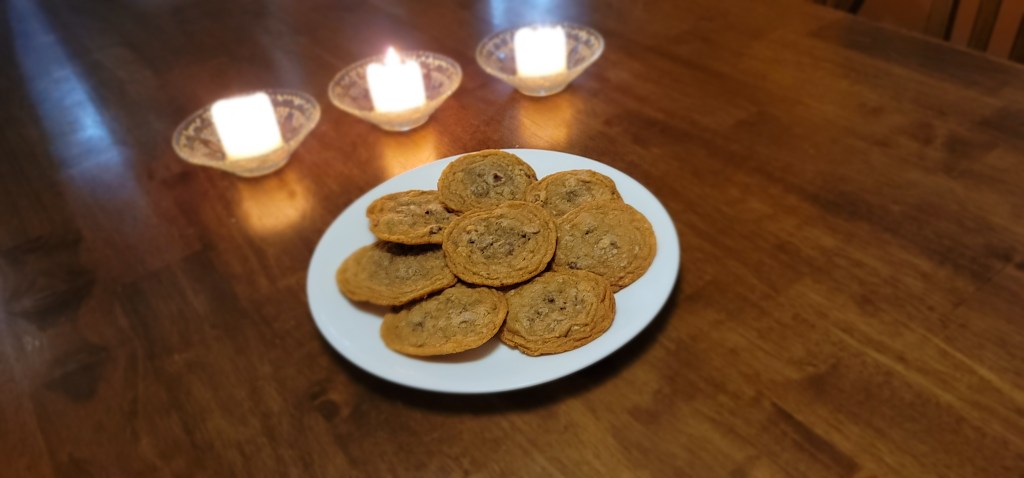
- Eat a cookie. Feel good about yourself. You’ve done well.
Notes:
- Gluten free and Vegan flour alternative. Cup4Cup includes milk powder, making it not vegan. I use a personal blend for this, but most any standard GF and vegan all purpose baking mix should be fine. My personal mix is an even blend of coconut flour, almond flour, and GF oats (which I grind in a coffee grinder). So for this recipe, that comes to ¾ cup of each. For this recipe, I also add 1 tbsp of tapioca starch. It helps keep the texture as chewy as possible. These cookies both gluten free and vegan will be less gooey-chewy, but the tapioca helps. Feel free to play around with the wet/dry ratios too. Sometimes a little more butter helps, or flattening the cookies more. Don’t be afraid to taste test between trays.

Leave a comment